Estimated Reading Time: 5 minutes
How to Update AirPods: A Simple Guide to Install New Firmware
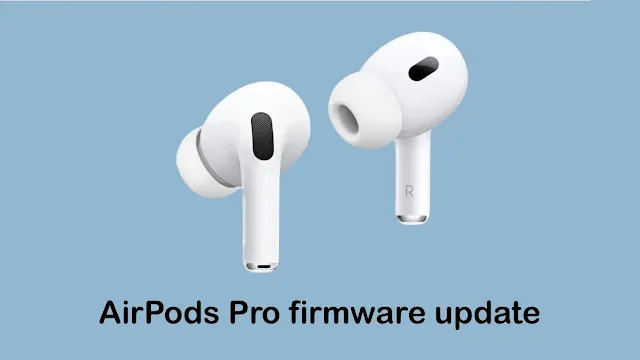
AirPods have revolutionized the way we listen to music, offering unmatched convenience with their wireless design and exceptional sound quality. To keep your AirPods running smoothly, it's essential to update their firmware. Regular updates ensure that your AirPods continue to perform at their best, fix bugs, and may even introduce exciting new features. This article will walk you through the process of updating your AirPods' firmware, making sure you're always up to date with the latest improvements.
How to Check Your AirPods Firmware Version
Before updating, it's a good idea to check the current firmware version on your AirPods. Here's how you can check:
Connect AirPods to Your iPhone or iPad: Ensure your AirPods are connected to your device via Bluetooth.
Go to Settings: Open the Settings app on your iPhone or iPad.
Access Bluetooth Settings: Tap on Bluetooth to see all paired devices.
Find Your AirPods: Locate your AirPods in the list and tap the "i" (information) button next to them.
Check Firmware Version: In the About section, you’ll see the firmware version number of your AirPods. You can compare it to the latest firmware version listed on Apple's support page to determine if an update is needed.
Steps to Update AirPods Firmware
Updating AirPods firmware is a straightforward process, but it happens automatically when certain conditions are met. Here’s how to make sure your AirPods get the latest firmware:
1. Ensure Your AirPods Are Connected
For the firmware update to take place, your AirPods need to be connected to an Apple device. Check that Bluetooth is enabled on your iPhone or iPad and that your AirPods are paired with the device.
2. Place Your AirPods in the Charging Case
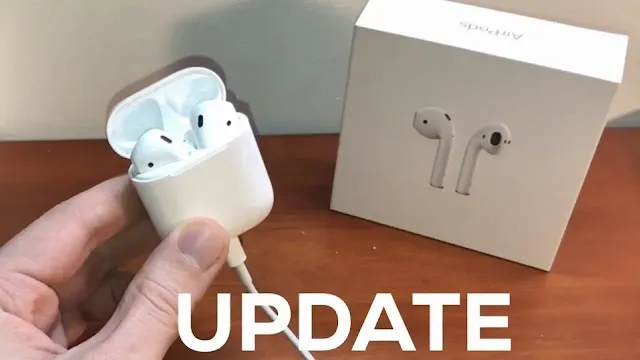
Your AirPods must be inside their charging case to install the update. The update typically occurs while the AirPods are charging, so make sure the case is plugged into a power source using the included Lightning cable or a wireless charger.
3. Keep Your iPhone/iPad Nearby
While your AirPods are charging, ensure that your iPhone or iPad is within range. The update happens over Bluetooth, so having your device close by is essential for the update to be downloaded and installed.
4. Wait for the Automatic Update
Once your AirPods are connected to your device and charging, the update will typically install on its own. You don’t need to do anything manually to initiate the update process. Just leave your AirPods in the case, and the firmware will be updated automatically in the background.
To confirm that the update has been installed, check the firmware version again in your Bluetooth settings. If the version number has increased, the update was successful.
What to Do If Your AirPods Won’t Update?
Occasionally, you may encounter issues that prevent the firmware update from installing correctly. Here are some troubleshooting steps you can try:
1. Ensure Your AirPods Are Charged
A low battery can prevent your AirPods from receiving an update. Ensure both the AirPods and the charging case have sufficient charge (ideally, above 50%) to complete the update process.
2. Reconnect Your AirPods
If your AirPods aren’t updating, try unpairing and then re-pairing them with your device. Go to Settings > Bluetooth, tap the "i" icon next to your AirPods, and select Forget This Device. Afterward, pair the AirPods again by holding the button on the case until the LED light flashes white.
3. Update iOS
Make sure that your iPhone or iPad is running the latest version of iOS, as firmware updates for AirPods may require the latest iOS software to function properly. To check for an update, go to Settings > General > Software Update.
4. Reset Your AirPods
If you still have trouble, try resetting your AirPods by following these steps:
- Place both AirPods in the charging case and close the lid.
- Hold the setup button on the back of the case for about 15 seconds until the LED flashes amber and then white.
- Reconnect the AirPods to your device.
Common AirPods Firmware Update Problems
Despite being a relatively simple process, sometimes users experience issues with updating their AirPods. Here are a few common problems and their solutions:
1. Firmware Update Not Installing
If your AirPods don’t seem to update, ensure that they are properly paired and that your iPhone is within Bluetooth range. If you continue to experience problems, try restarting your device and reconnecting the AirPods.
2. AirPods Not Charging
Your AirPods need to be charged to receive firmware updates. If they aren’t charging, check if the charging contacts are clean. You might also want to try using a different charging cable or charging pad.
3. Firmware Update Taking Too Long
Although updates generally take only a few minutes, they can occasionally take longer. If the process seems to be stuck, restart the update by reconnecting your AirPods or resetting them.
Tips to Keep Your AirPods Updated
To ensure that your AirPods stay up to date with the latest improvements, follow these simple tips:
Check for Updates Regularly: Although updates usually happen automatically, it’s a good idea to periodically check the firmware version in your Bluetooth settings to ensure you're running the latest software.
Maintain Bluetooth Connection: Always keep your AirPods paired with your device, and keep Bluetooth enabled to facilitate the automatic update process.
Keep iOS Updated: Always update your iPhone or iPad to the latest iOS version to ensure compatibility with AirPods firmware updates.
Reference Source:
- https://support.apple.com/guide/airpods/pair-airpods-1st-2nd-or-3rd-generation-devc92111b77/web
- https://youtu.be/a6viG-yvuTs?t=82
- https://youtu.be/o--JAjZcY9M?t=60
- https://www.headphonesty.com/2022/08/update-airpods-pro/
- https://support.apple.com/en-us/HT213317
- https://support.apple.com/en-us/HT213317
- https://support.apple.com/guide/airpods/pair-airpods-1st-2nd-or-3rd-generation-devc92111b77/web


.webp)
.webp)
.webp)


.webp)

.webp)

